
Yesterday I began a tutorial for the Chickadee block. The pattern is available on my website. Many of you in the area (Barrie) asked about picking the pattern up and not having to pay shipping. Now you can do that! The patterns will be available for pickup starting on Wednesday May 22 at True North Yarn at Cedar Pointe. Details are here.
Today I am going to show you how I prepare my freezer paper templates. These are the 3 greens I am using for my leaves and stems. I love to use Northcott fabrics for most my applique projects. The colours are yummy!
Once you have cut out your templates, iron onto the wrong side of the fabric. If you are used to doing needle turn applique, this will seem odd to you. 
Leave enough room around each template to leave a good (not scant) 1/4″ seam allowance.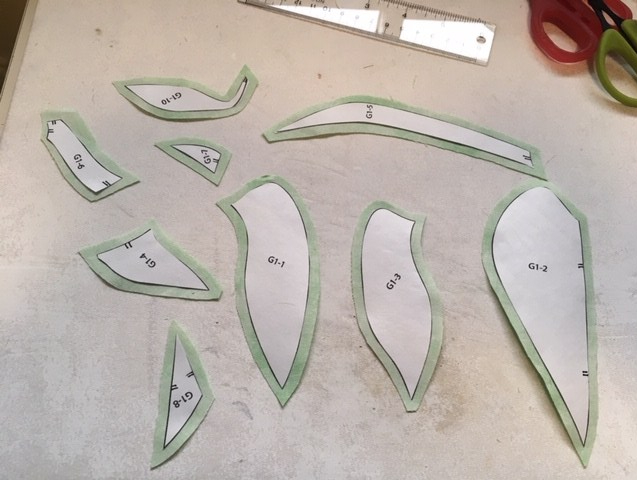

Here is a photo of the tools you will need. You will need a firm pressing surface. An awl or a stiletto. A mini-iron. I swear by my Prym Dritz Petite Press! A jar, some spray starch and a paint brush. I use Easy On, which is a spray starch available in most grocery stores. But you can also use Best Press. And lastly, I cannot say enough about Karen Kay Buckley’s Perfect scissors. I cannot imagine applique life without them:)
First thing to do is spray some starch into our jar. Notice I am holding the can of spray upright and I am holding the jar on its side. That is so that the nozzle will not clog, not unlike a can of whipped cream. Let the foam in the jar reduce to a liquid.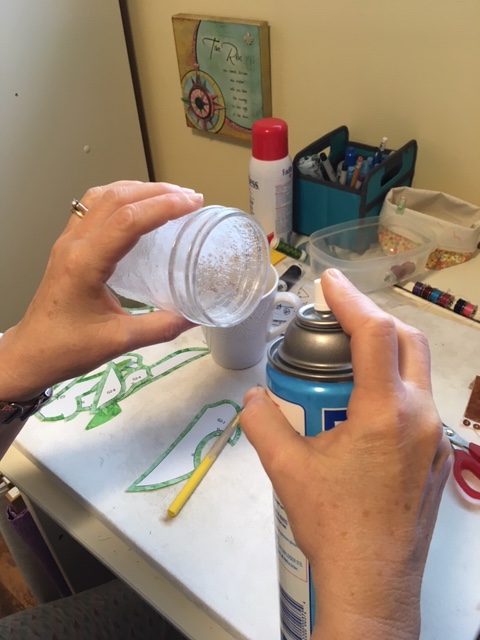
With your paintbrush, paint some starch on the seam allowance. 
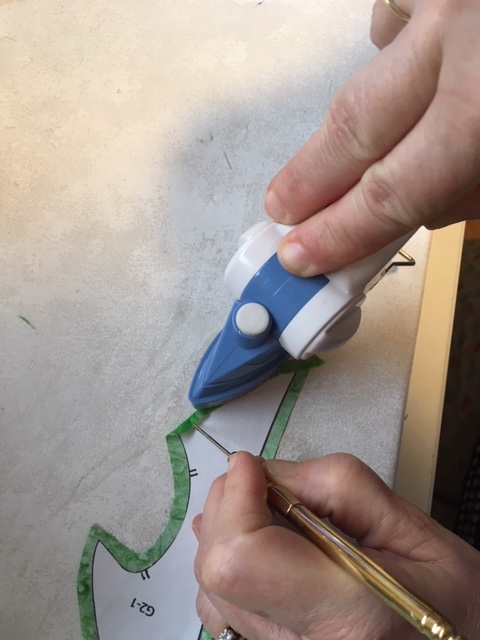
Hold the edge with your stiletto, pick up your iron and start to press the seam allowance over the template. I hold my stiletto in my left hand and my iron in my right hand, but do what feels best for you. If you cannot get the hang of the stiletto, simple use you finger to fold the seam allowance over. Trust me, you will burn your fingers a few time and then say “I think I’ll give that stiletto another try”.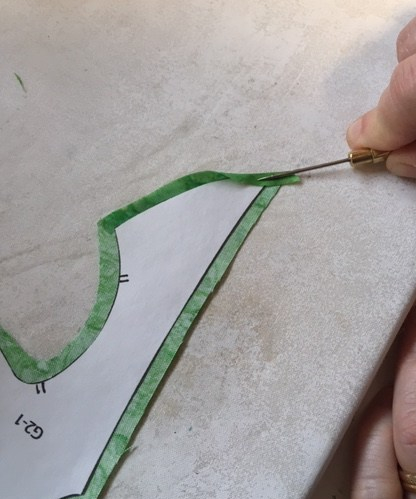
You will notice that some of the templates have some strange marking on them. The two lines at the edge of the freezer paper (hash lines) means that you don’t do anything to that side. Leave it “unprepped”.

If a template has no markings along the edge, the whole template gets prepped.

The last marking I want to show you is a dashed line. This means that part of the edge gets prepped and part of it doesn’t get prepped. Once I start showing you how the pieces go together this will make more sense. First, clip right to the edge of the freezer paper where the dashed line is.
Next, prep the side that has no hash lines and leave the edge that does have hash lines unprepped.
When it comes to clipping inside curves, clip sparingly and clip to within 1/8″ of the freezer paper. Believe it or not, 2 layers of freezer paper is thick, so you need that extra bit of fabric to wrap around the freezer paper. Never (ever!) clip an outside curve. Never!!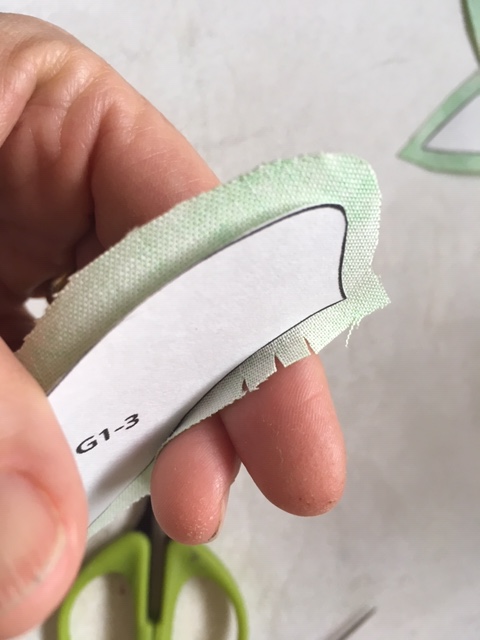
When it comes to points, I know you are going to want to cut those points off…. BUT DON”T DO IT!! Just leave them be…for now:)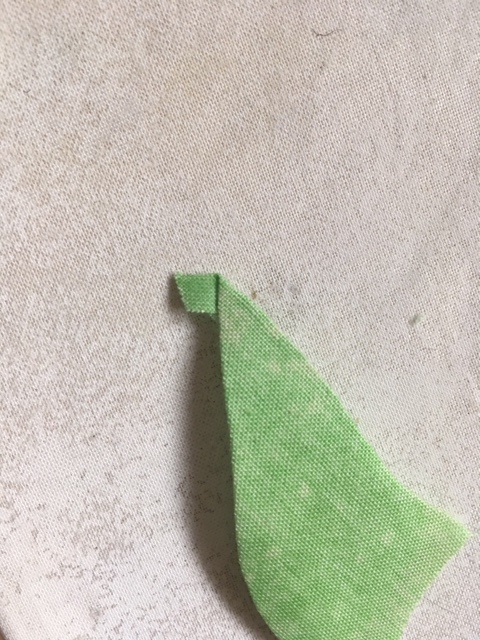
Hope everyone has a relaxing and safe long weekend:)
Til next time….
Kerry

I never understood then line markings till now. Thank you.
I always love rewatching your old YouTube videos on spray starch appliqué!
I’m glad you discovered my videos:)